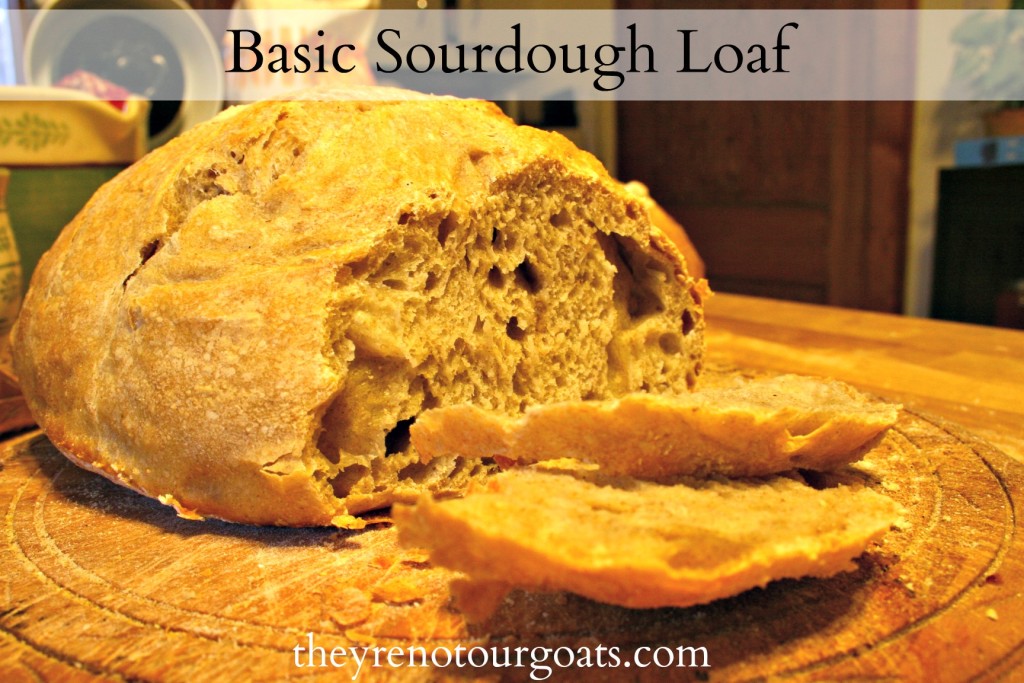
After almost 2 years of trying to bake sourdough, I think I’ve finally got it to where I get a good loaf (almost) every time. I’m not a fast learner, but this bread was worth it.
Today, I’m going to share my standard recipe and process that I use to make our weekly sourdough. Just like I said in my sourdough starter tutorial, remember to watch your dough more than my recipe. Be willing to play with the proportions of flour, starter, water, and time that I give you. You will likely end up with a few failed loaves if you’re just beginning. That’s okay! Time, practice, and getting the right feel of the dough is what will help you to succeed.
Here’s what you will need for two large loaves:
- 2 cups starter (fed and lively)
- 2 1/2 cups water
- 2 Tbsp salt
- 6 cups flour, plus more as you work with the dough. I usually use about half whole wheat (or other for flavor variation), the rest in unbleached white bread flour. Try to use a good bread flour
for this portion when possible- it will rise better than all-purpose. Organic is best, but not necessary- I rarely have it on hand! (Note that different flours will change your rise time.)
The process sounds like a lot because I want to give you all the details you need if you’re just beginning. But don’t fret- once you do it a several times, it will become second nature and won’t seem nearly so complicated. Here we go!
1) Mix all ingredients in a large bowl and stir until incorporated. It’ll be messy. Let rest for about 15-30 minutes. (If you have more or less time available, that’s okay too.)
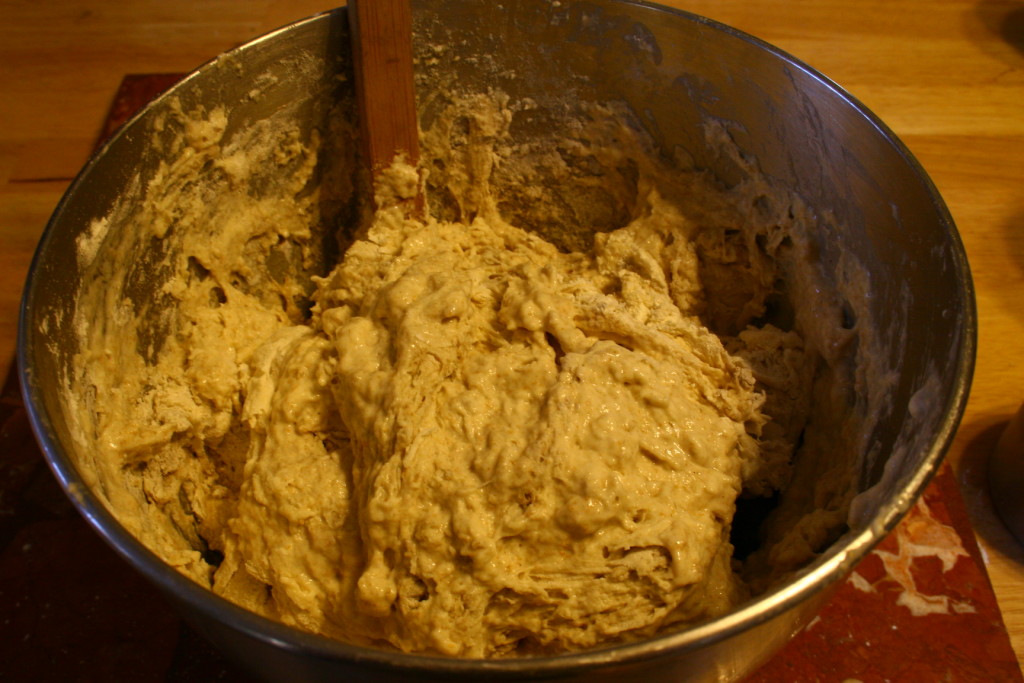 (I may have had extra help with this step…)
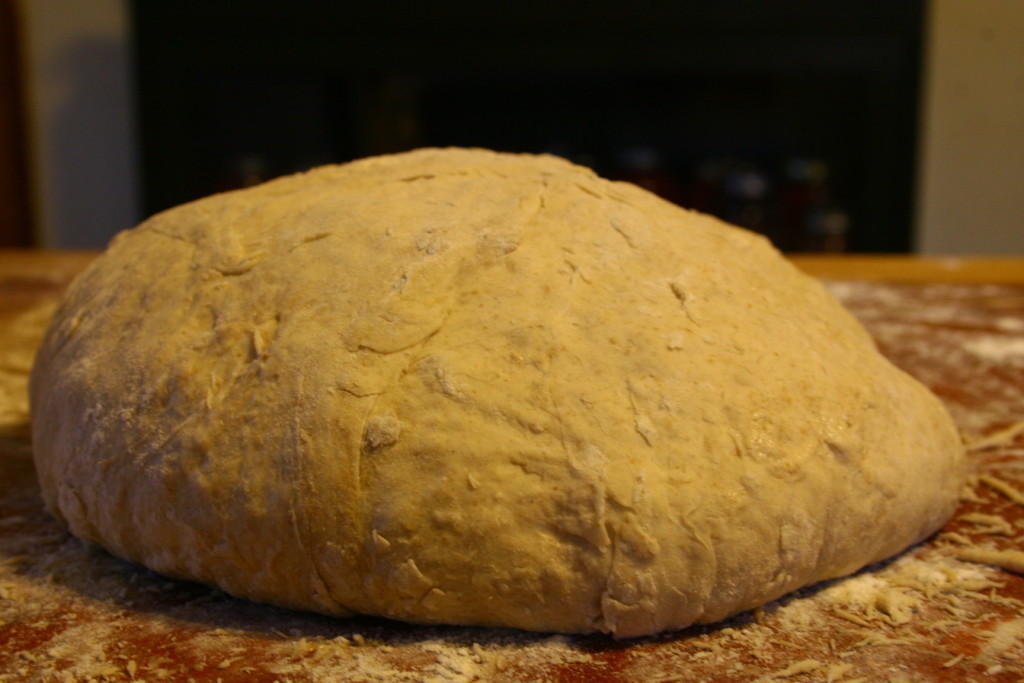
2) Turn out onto a well-floured surface, flour your hands, and knead for just a minute or two until everything is mixed a bit more smoothly. The dough should be quite sticky, but still workable with your hands. If it’s too wet to handle, knead in flour as you go.
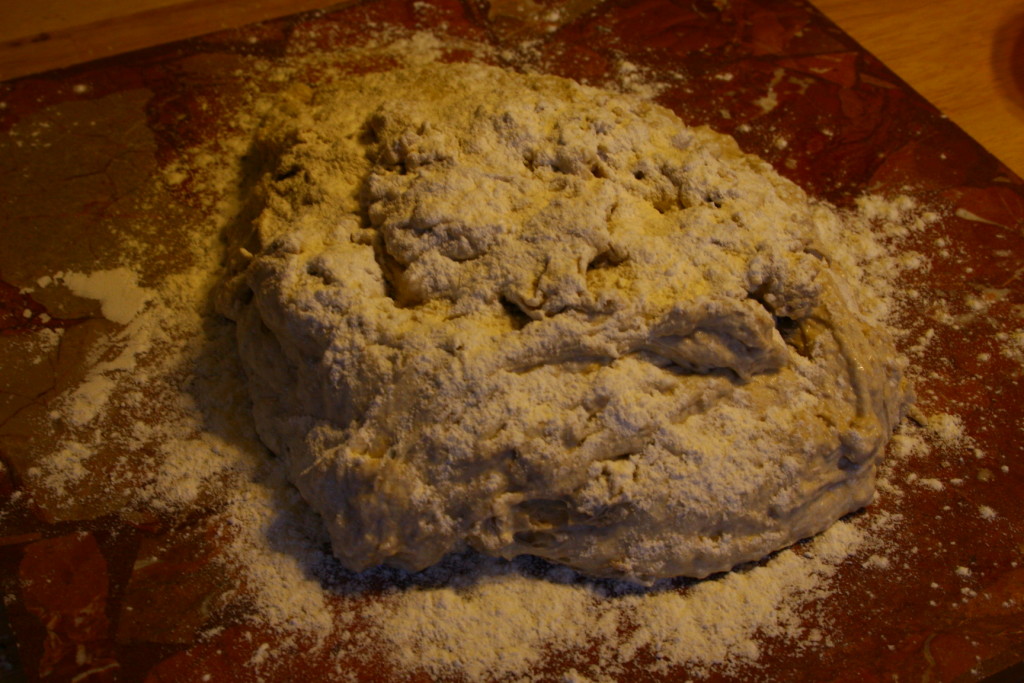 Here’s how mine looked after kneading for a minute or two:
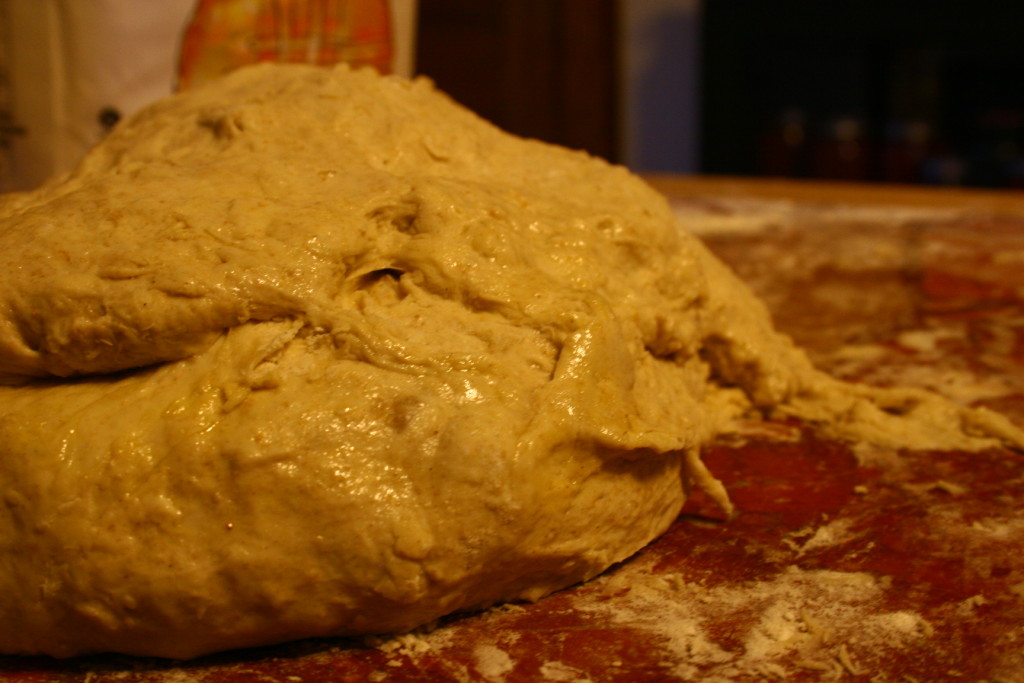
Though I could handle the dough because of the flour on the surface, it was actually still quite wet underneath:
You want it to be pretty moist to help develop that airy crumb we all envision when we think of sourdough. The dough definitely doesn’t meet the typical “smooth and elastic” requirement of many bread recipes. That’s okay! We’re going to let the dough work itself over time instead of effort.
3.) Grease a large bowl with a little bit of olive oil. Form dough into a ball and place in the bowl, turning to coat both sides with the oil. Cover with a tea-towel and let rest for several hours, until it is approximately doubled in size. *Note: This stage will largely depend on your environment. I’ve left it anywhere from 2 hours in hot humid weather, up to 5 or 6 hours in cooler weather. This time I left it overnight by the cool window, and it rose nicely by the morning.
4) Now we’re going to form the loaves. Turn dough out onto floured counter. Divide into 2 equal parts. You should notice tiny bubbles throughout your dough (or a couple big bubbles like I’ve got if you’ve left it longer).
Working with one half at a time, gently press dough into a flat round on the counter. (Try not to squish out all the bubbles!)
I form my dough into a round loaf by gently stretching and folding in pieces of the dough to the center as if I was working around a clock:
 (Here’s where I originally learned to shape a boule– highly recommended for beginners!)
I flip this folded loaf over so the smooth side is on top. I then use the palms of my hands to cup under the loaf and gently turn it- letting it “drag” on the counter as I turn- until the “skin” of the loaf becomes quite taut, but not cracked.
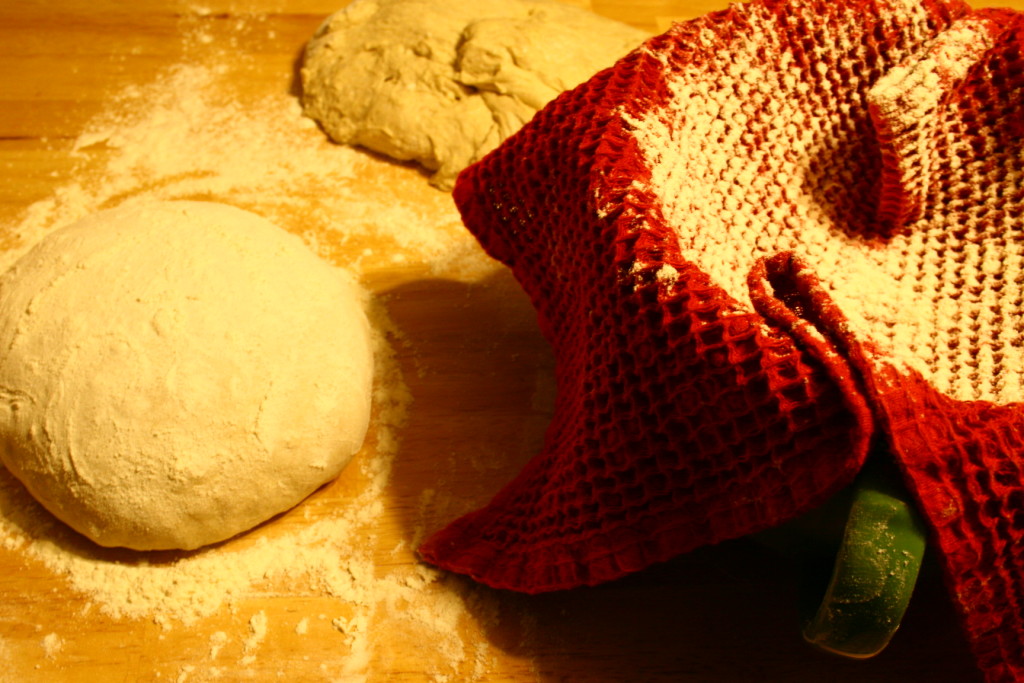
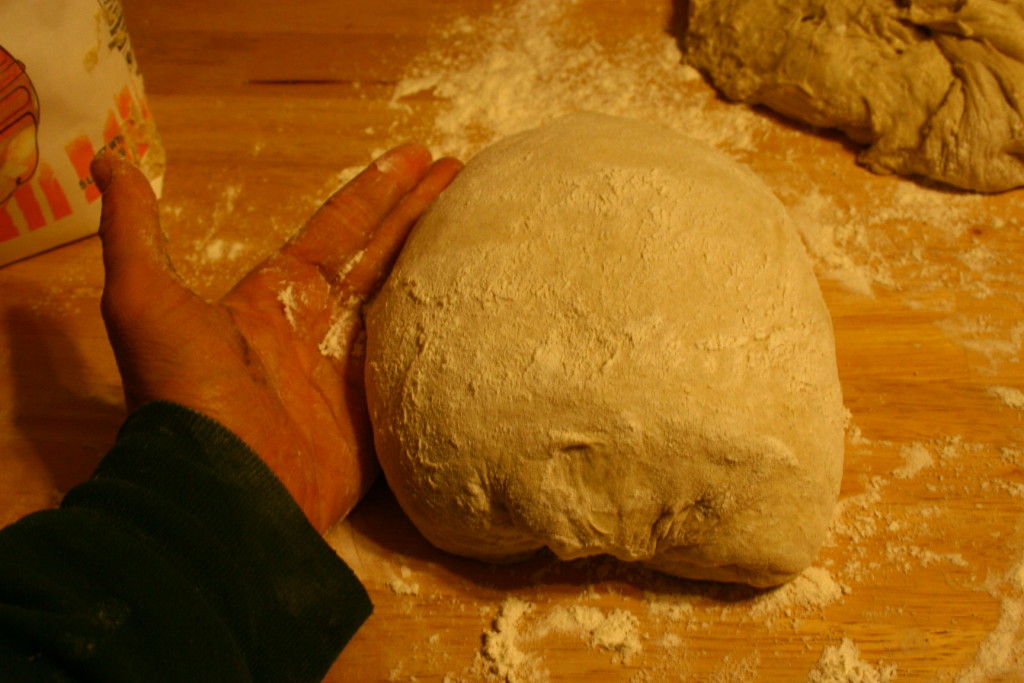 You’ll get a nice smooth ball. Flour the top of the ball very well. Repeat with the second half.
5) Line two large bowls with VERY well floured tea towels. Place one loaf in each bowl upside-down. Cover and let rise another couple of hours. (The longer your first rise, the shorter your second.)
6) Place two cast-iron pans (or dutch ovens, or pizza stones) in your oven. Preheat it to 450 F. Once the oven and pans are thoroughly heated, get ready with a sharp knife and a spray bottle full of water.
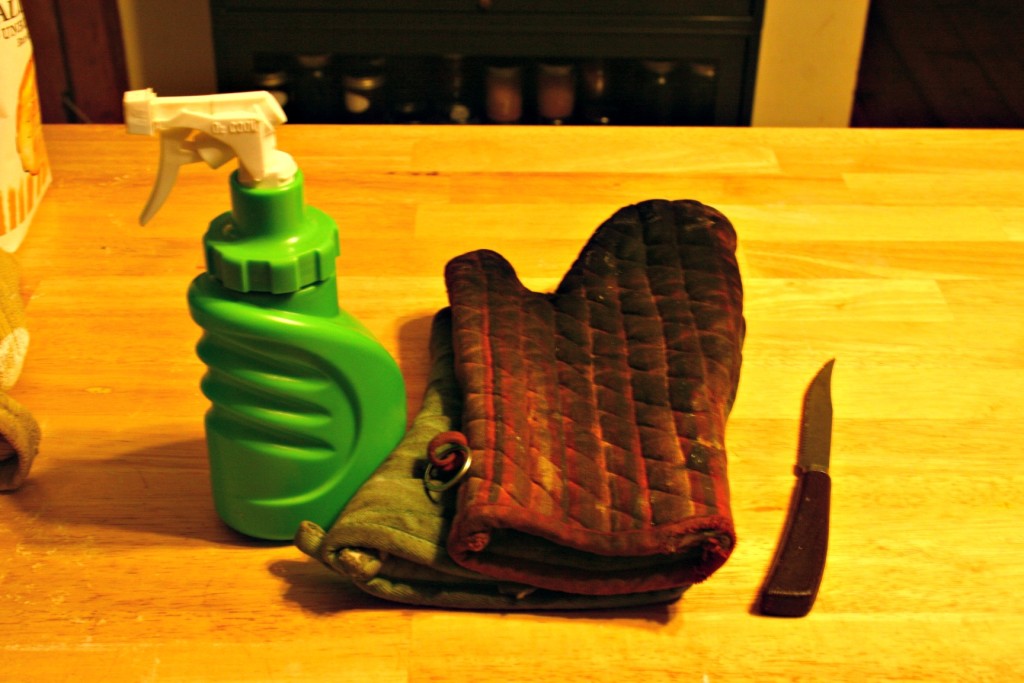 7) Quickly flip your loaves out of the floured towels onto the hot pans. Slash the top 2-3 times (boldly!) and spray loaves with water.
 Put them in the oven and spray some more. Close the door. Move as quickly as you can through this whole step, because the loaves will begin to cook as soon as they hit the hot pan. (Don’t stop to take pictures like I did.) But please don’t burn yourself!
8) Spray water generously inside your oven every 3 minutes for the first 10 minutes of baking. After 10 minutes, lower the heat to 375 and bake for about 25 minutes more.
9) Remove from oven. Bread should be golden brown, and the bottom should sound hollow when tapped. Let cool for at least 30 minutes before slicing, as the bread is still baking in the middle.
Remember, every baker has a different method for achieving his or her favorite bread texture. The point of this post is not to give you a golden key to sourdough baking, but rather to give you a basic starting point. Try practicing your loaves in different ways and don’t be afraid to mess up! It’s all a big experiment, somewhere between an art and a science.
“Bread — like dancing — takes practice to get to know your partner (the dough) and the rhythm (your baking schedule).” Kiko Denzer, Build Your Own Earth Oven
This post contains affiliate links. Thanks in advance for supporting my little blog!

